

Table of contents
- Introduction
- 1. How to select a project that suits your abilities and preferences?
- 2. Accessing the project website, cloning the source code repository and joining the community
- 3. Configuring the development environment and building the code
- 4. Engage in codebase exploration and experimentation
- 5. Identifying an open issue that resonates with your interests
- 6. Guidelines for contributions and the workflow for submitting merge requests
- 7. Communication is the key
- Conclusion
Introduction
Embarking on the exhilarating journey into the realm of open-source projects can seem daunting at first, but fear not! With the right roadmap in hand, you can seamlessly dive into the world of collaborative coding and make meaningful contributions. In this guide, we'll unveil a concise yet comprehensive seven-step strategy to set you on the path to open-source success. Whether you're a coding newbie eager to learn or a seasoned developer looking to expand your horizons, these steps will equip you with the steps and knowledge needed to navigate the open-source landscape with confidence. Let's demystify the process and turn your curiosity into impactful contributions.
1. How to select a project that suits your abilities and preferences?
Several key factors come into play when seeking the ideal project fit:
Identifying Your Expertise: Determine your area of specialization and proficiency.
Familiarity with Technology: Assess your skills with relevant technologies.
Learning Objectives: Consider what you aspire to learn through your contributions to the project.
Do you find this project enjoyable to use? If you're not deriving enjoyment from your contributions to the project, then what purpose does it serve?
Let's delve into my process for choosing open-source projects to join.
My forte: The C and C++ languages.
Proficiency with technology: Moderate level of familiarity.
Goals: Acquiring proficiency in C++ development, particularly in modern C++ practices.
Does engaging with this project bring you a sense of enjoyment? We'll see.
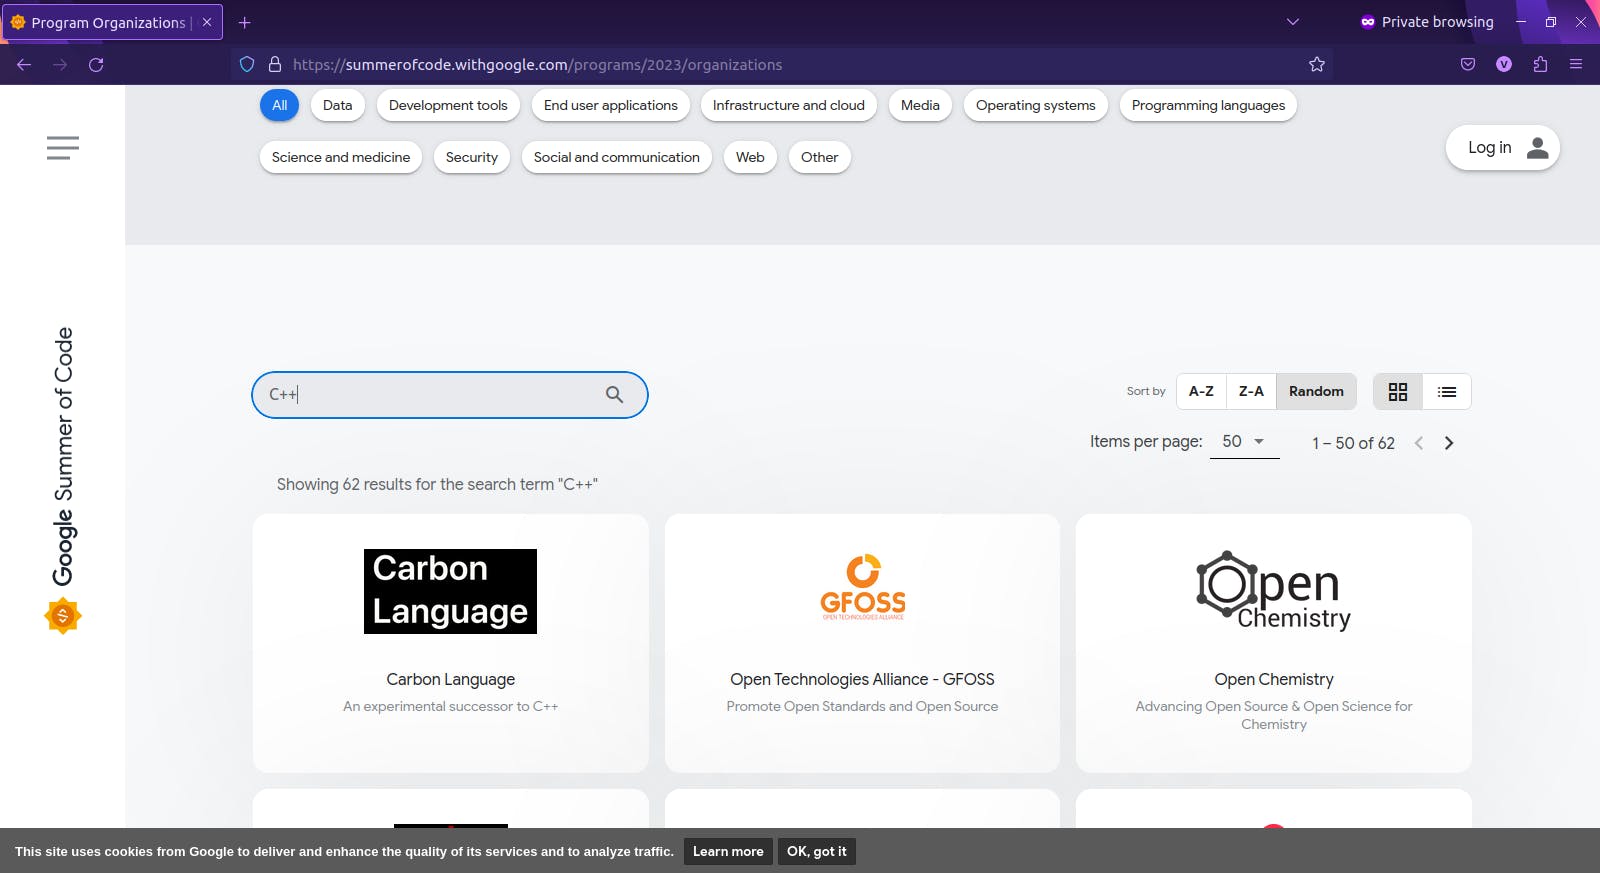
A convenient approach to discovering compelling open-source projects for contribution is to navigate the GSoC website, explore the organization's list, and identify those that align with your criteria.
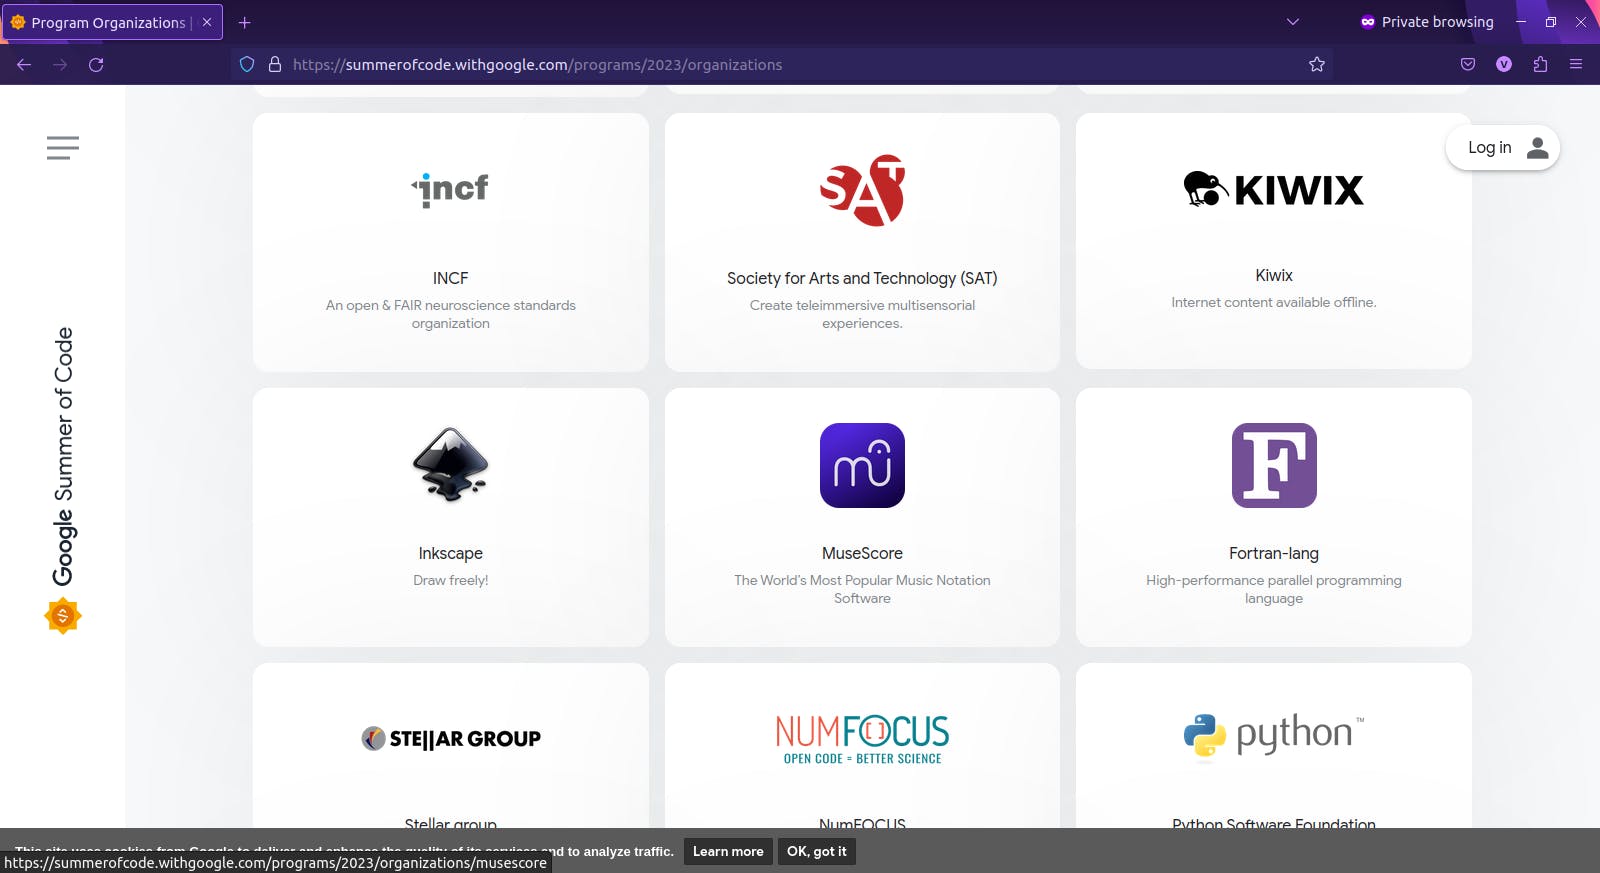
Having identified the Inkscape project as particularly captivating compared to others, I'm now eager to embark on a trial engagement with it.
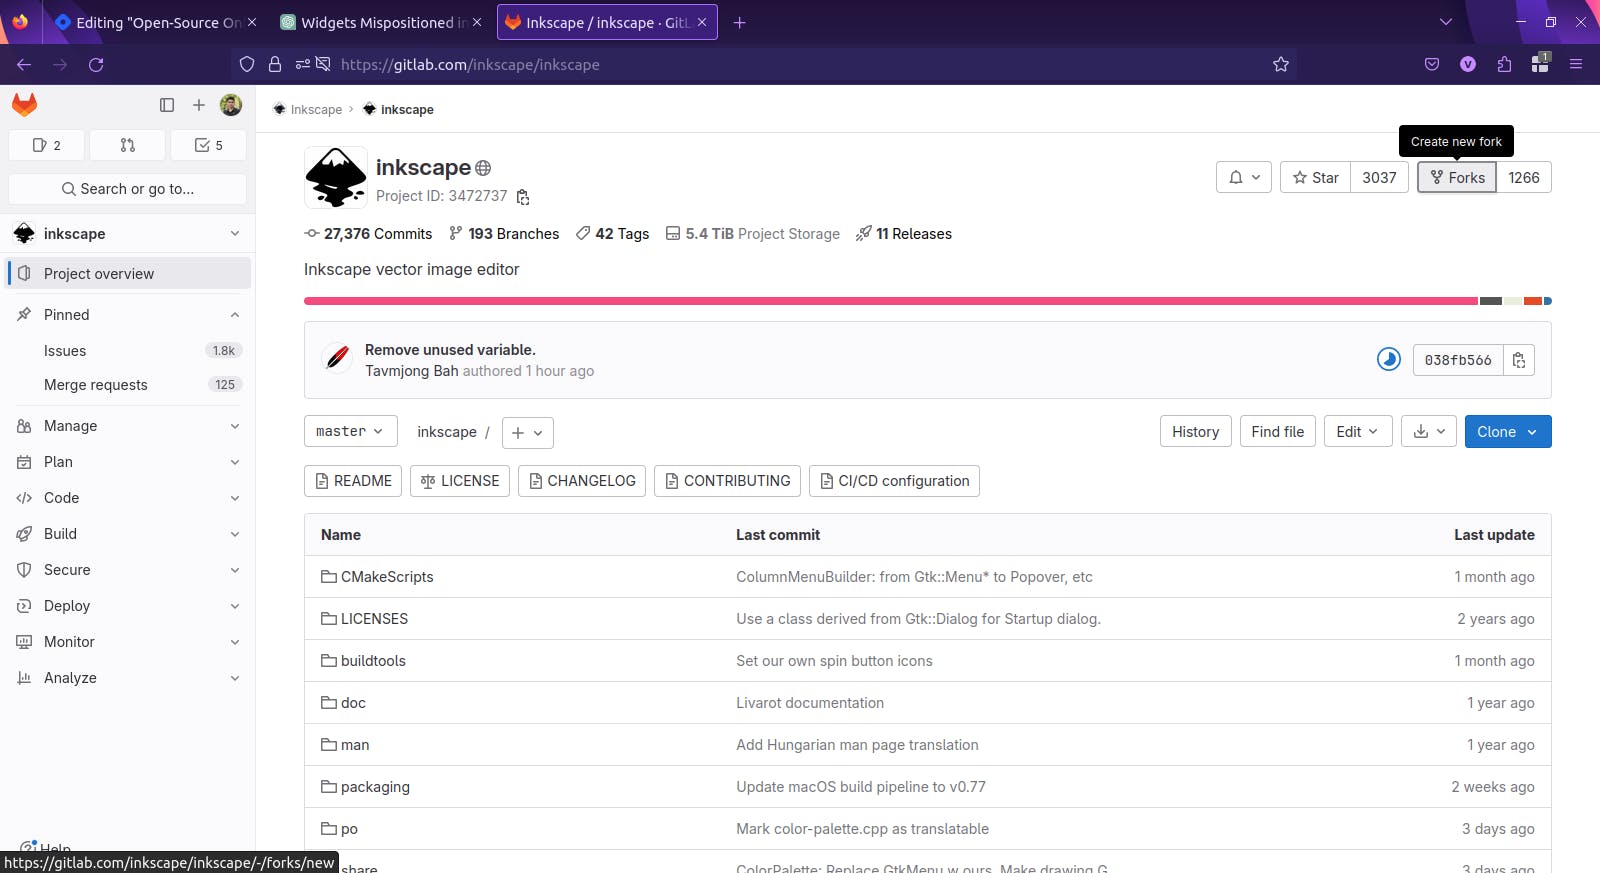
2. Accessing the project website, cloning the source code repository and joining the community

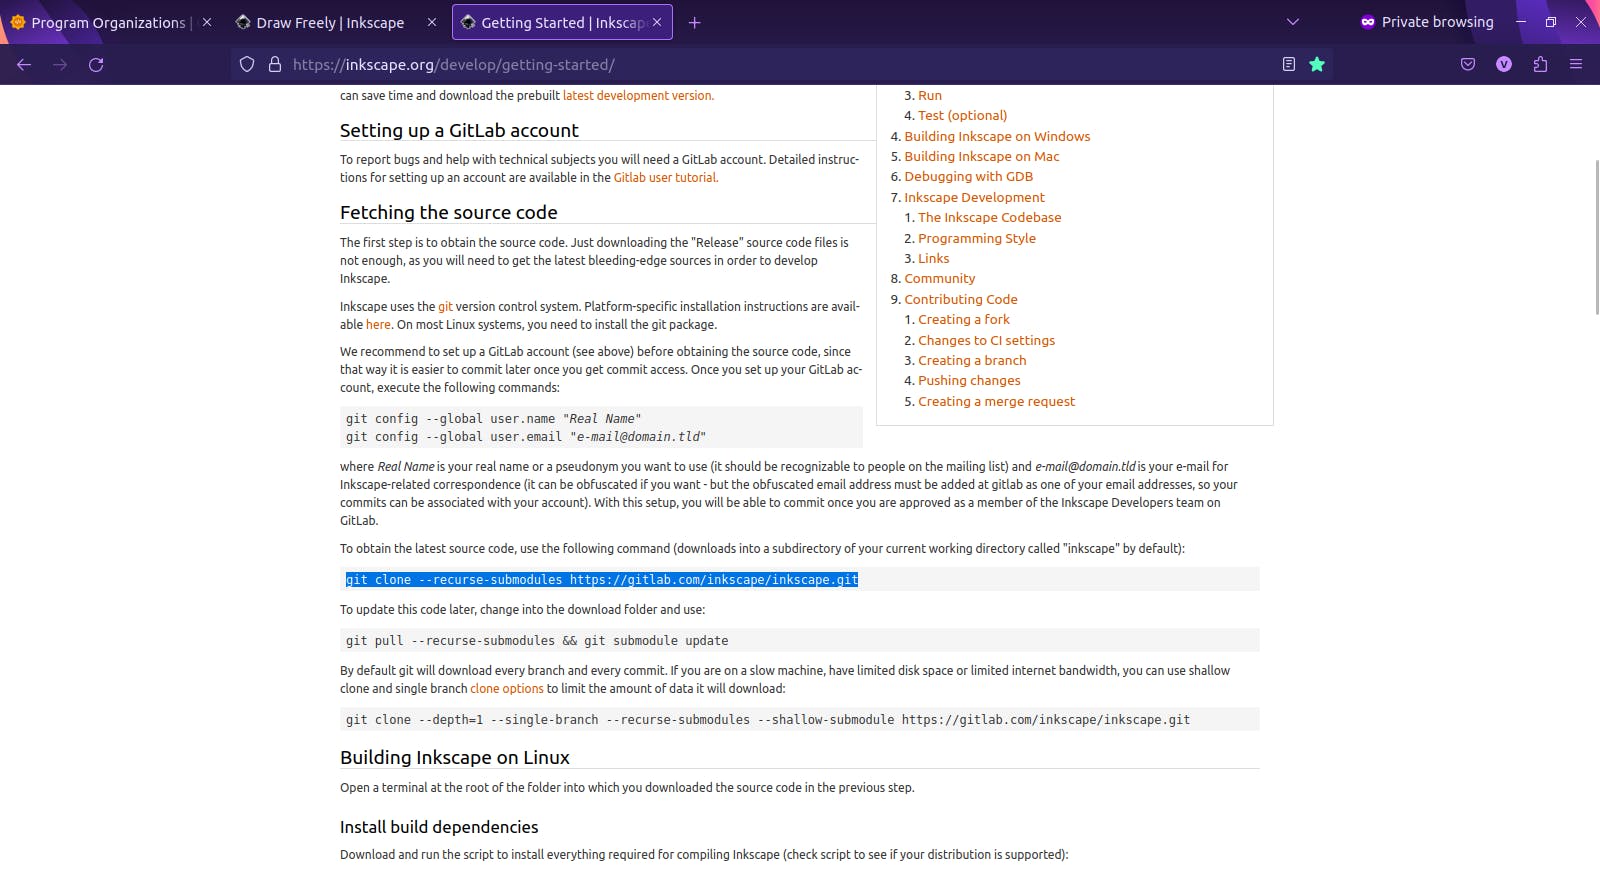
The majority of open-source projects provide well-defined development instructions on their official websites. In instances where developer documentation isn't readily accessible on the website, you'll likely find it within their codebase.
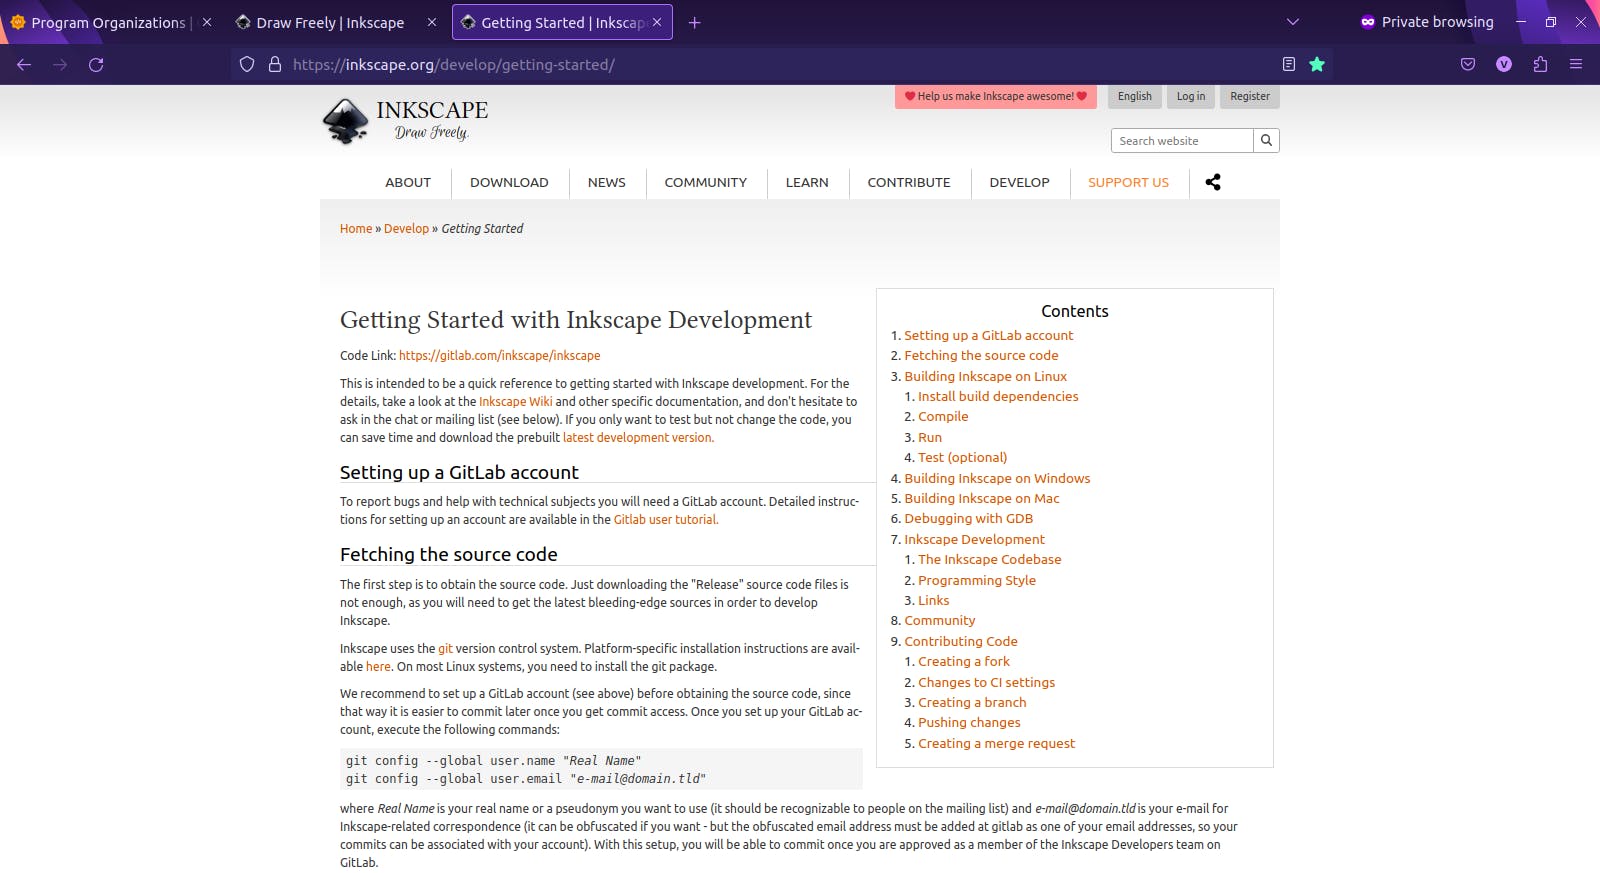
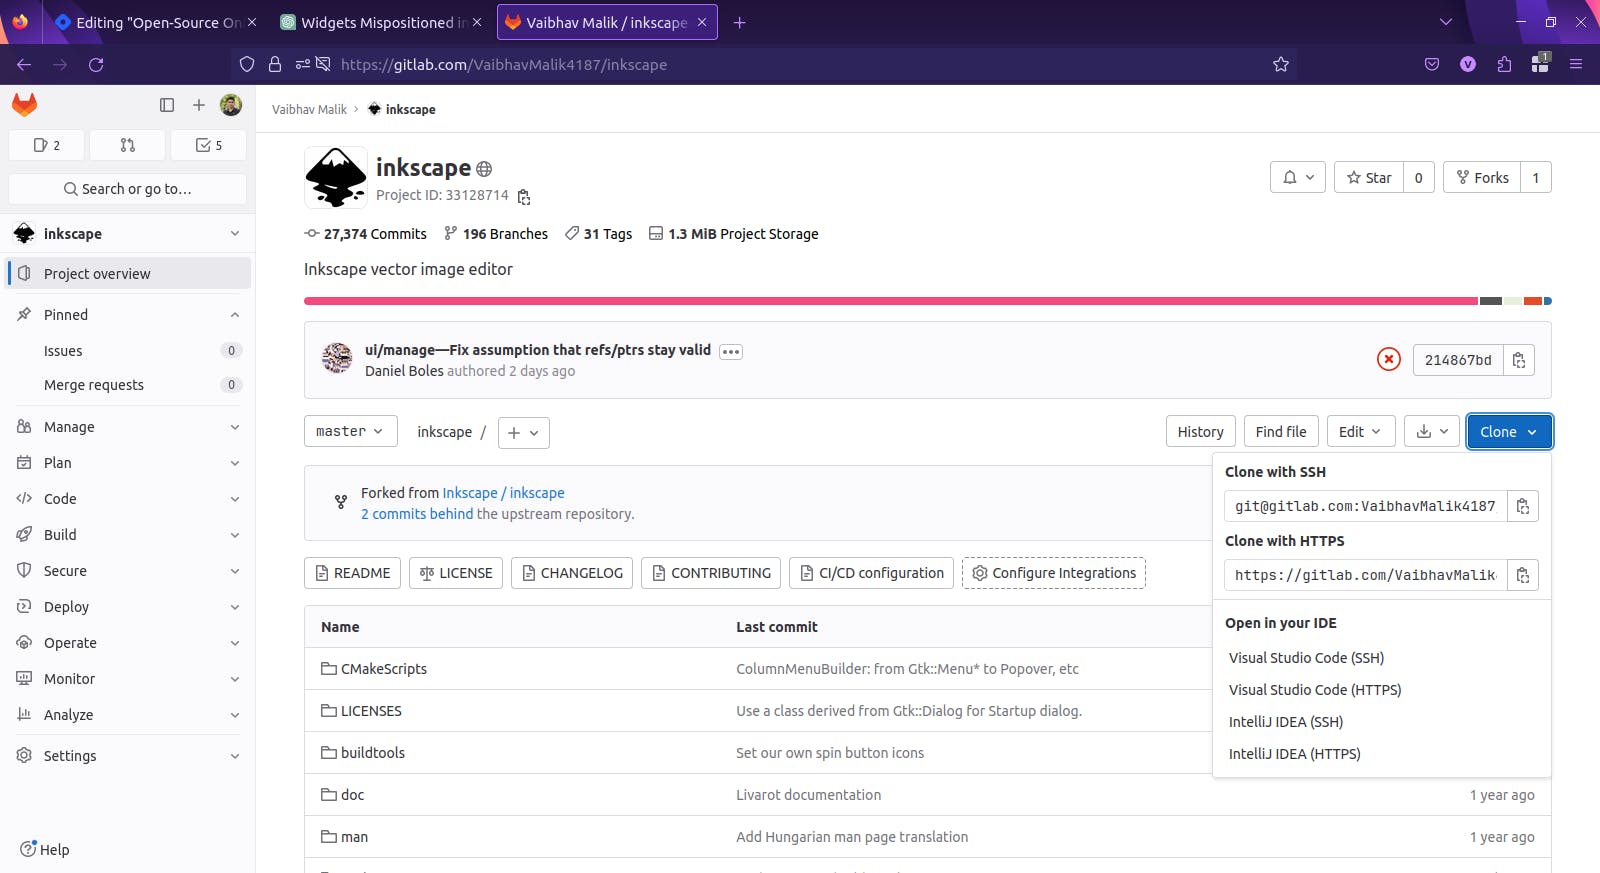
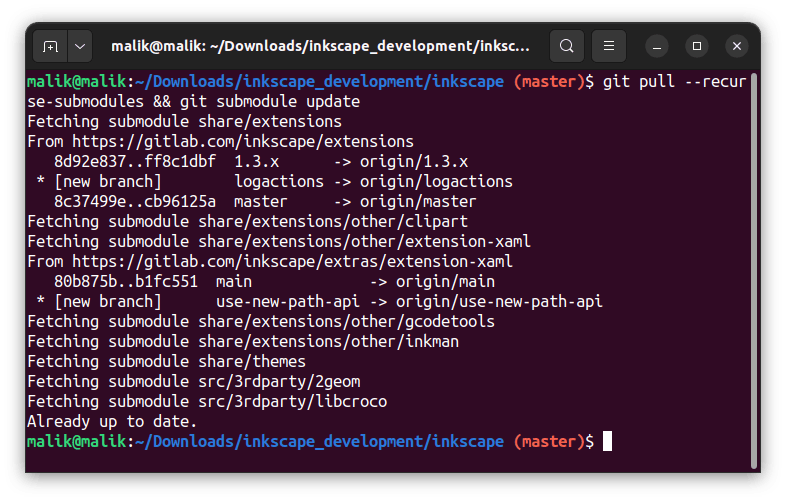
Subsequently, the next step involves forking and cloning the source code repository. Exercise caution while cloning the repository; remember to clone your forked instance. Cloning the original repository could hinder your ability to create pull requests after modifying the source code.
Initiate the process by adhering to the developer documentation's instructions systematically.
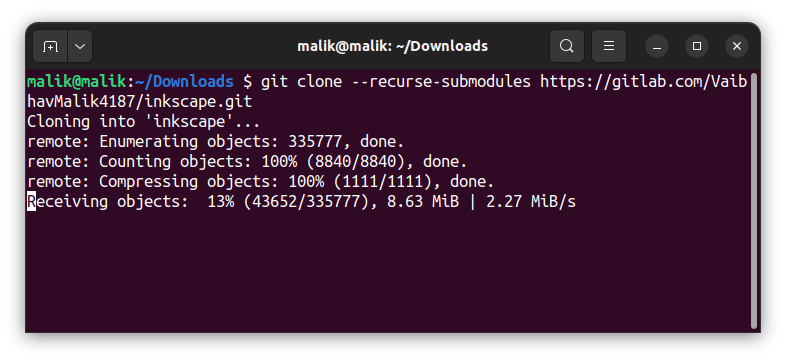
After the cloning process is finalized, proceed to the subsequent steps.
Ensure your participation in the project's developer community, as it will serve as your primary interaction space in the coming times. Various communities favour distinct communication methods. Some communities opt for mailing lists, while others utilize communication platforms like RocketChat, Matrix, and Slack.
The Inkscape community utilizes RocketChat for their communication needs. You can join Inkscape's developer channel at https://chat.inkscape.org/channel/team_devel.
3. Configuring the development environment and building the code
This section will comprehensively cover installing dependencies and performing a local code build.
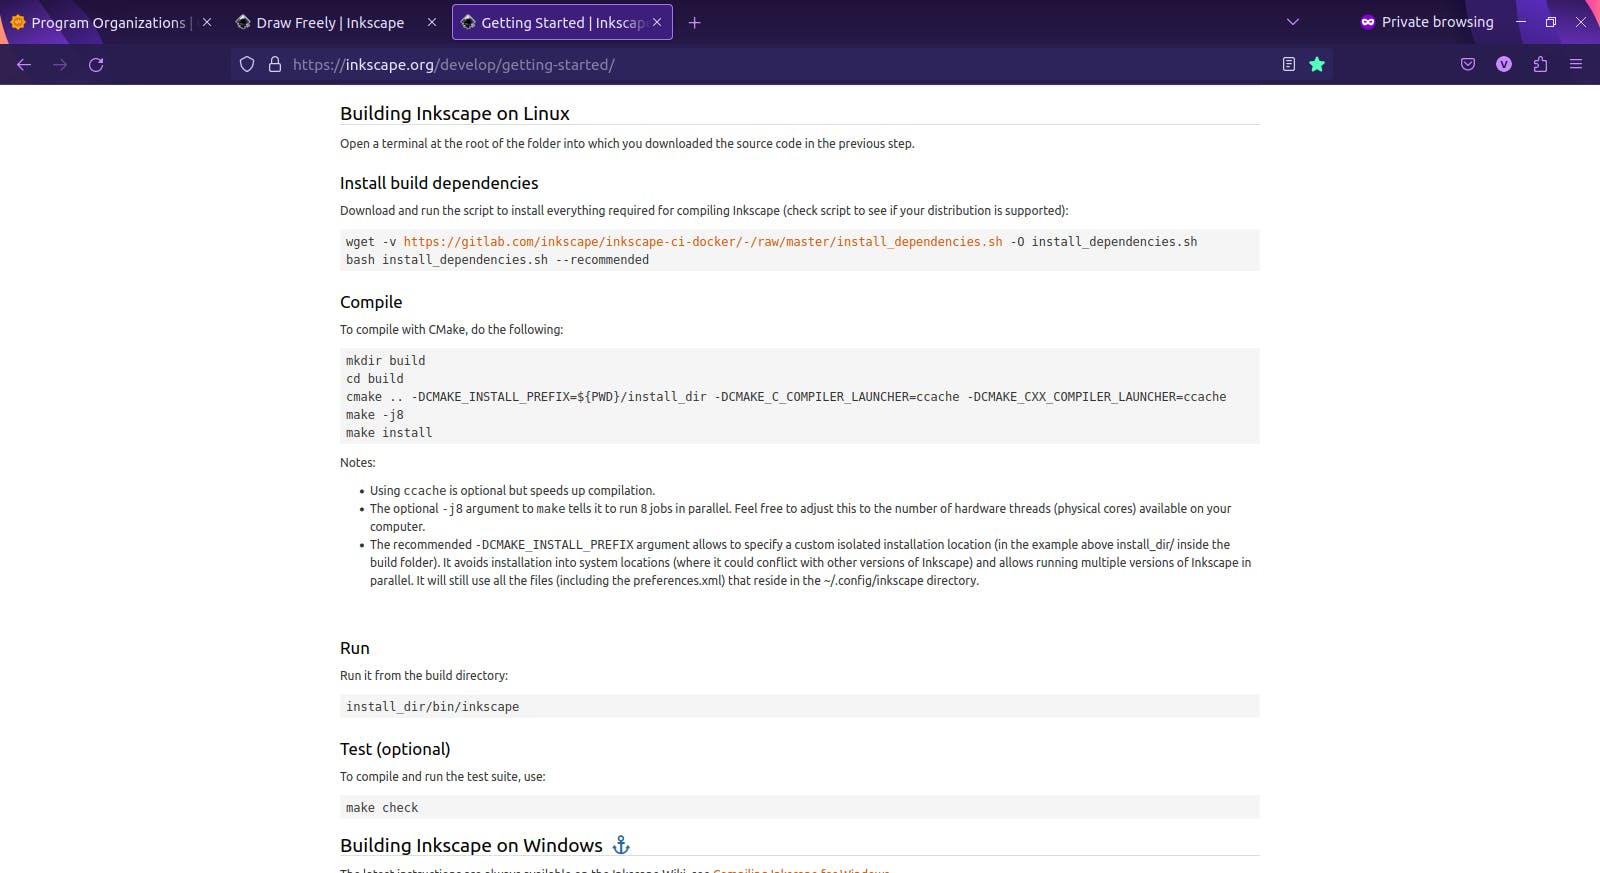

The provided video below demonstrates the procedure for building Inkscape utilizing a cmake command in conjunction with specific flags.
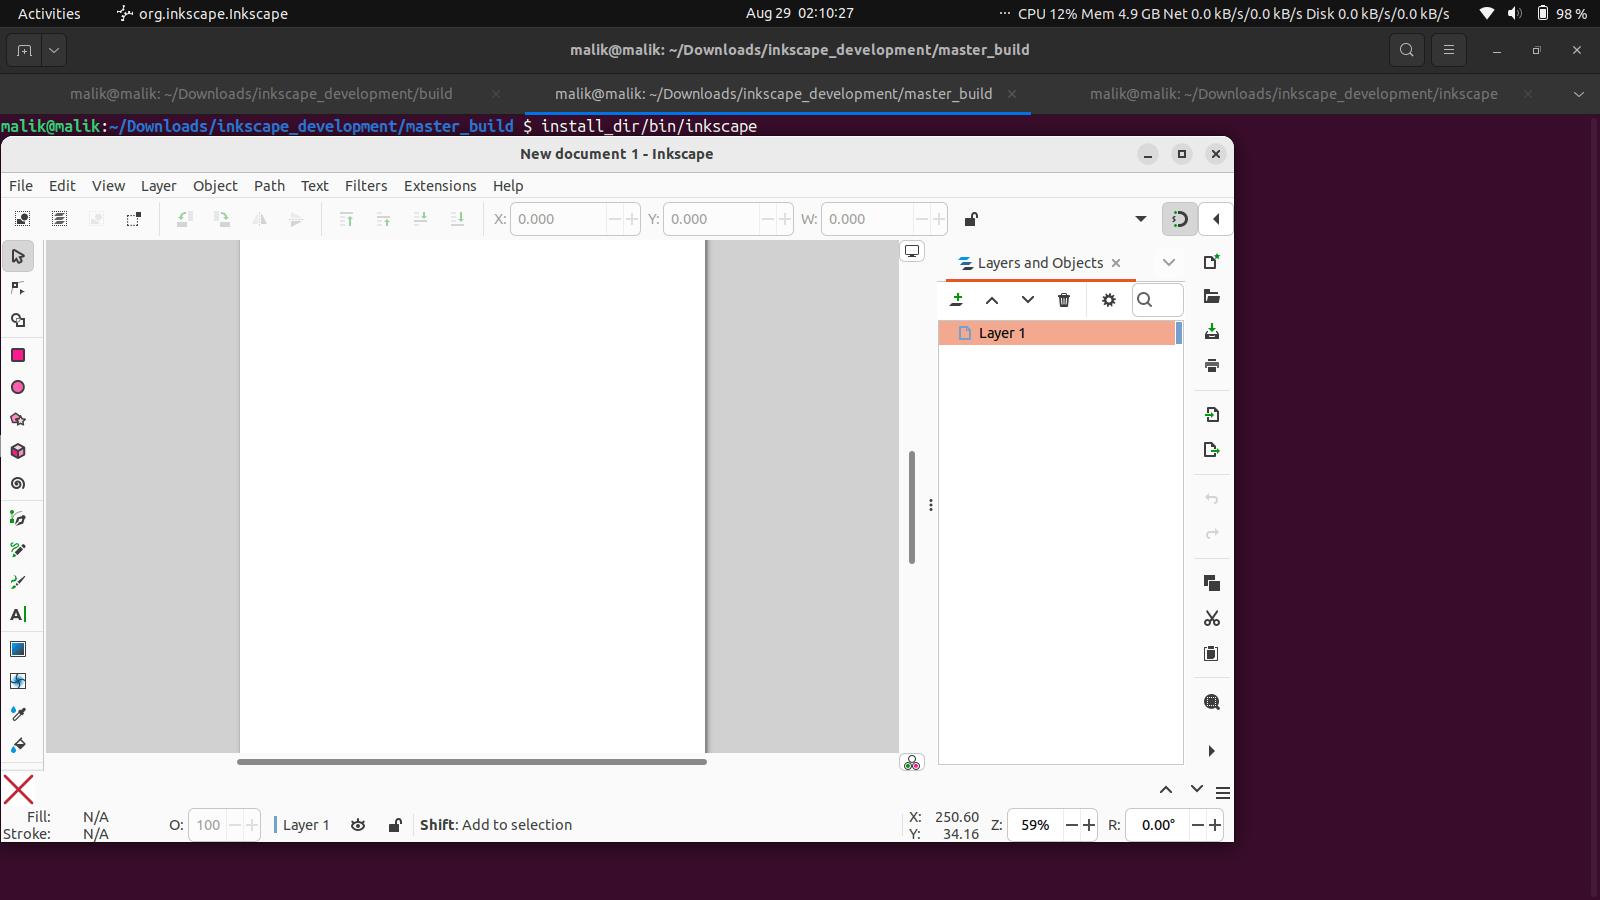
Running the build
Following the developer instructions, you can execute the Inkscape binary generated after the build using the following command: install_dir/bin/inkscape
4. Engage in codebase exploration and experimentation
Once the build setup is established, you can initiate your codebase exploration using your preferred integrated development environment (IDE). Commence by implementing minor alterations and progressively advance towards more substantial modifications.
5. Identifying an open issue that resonates with your interests
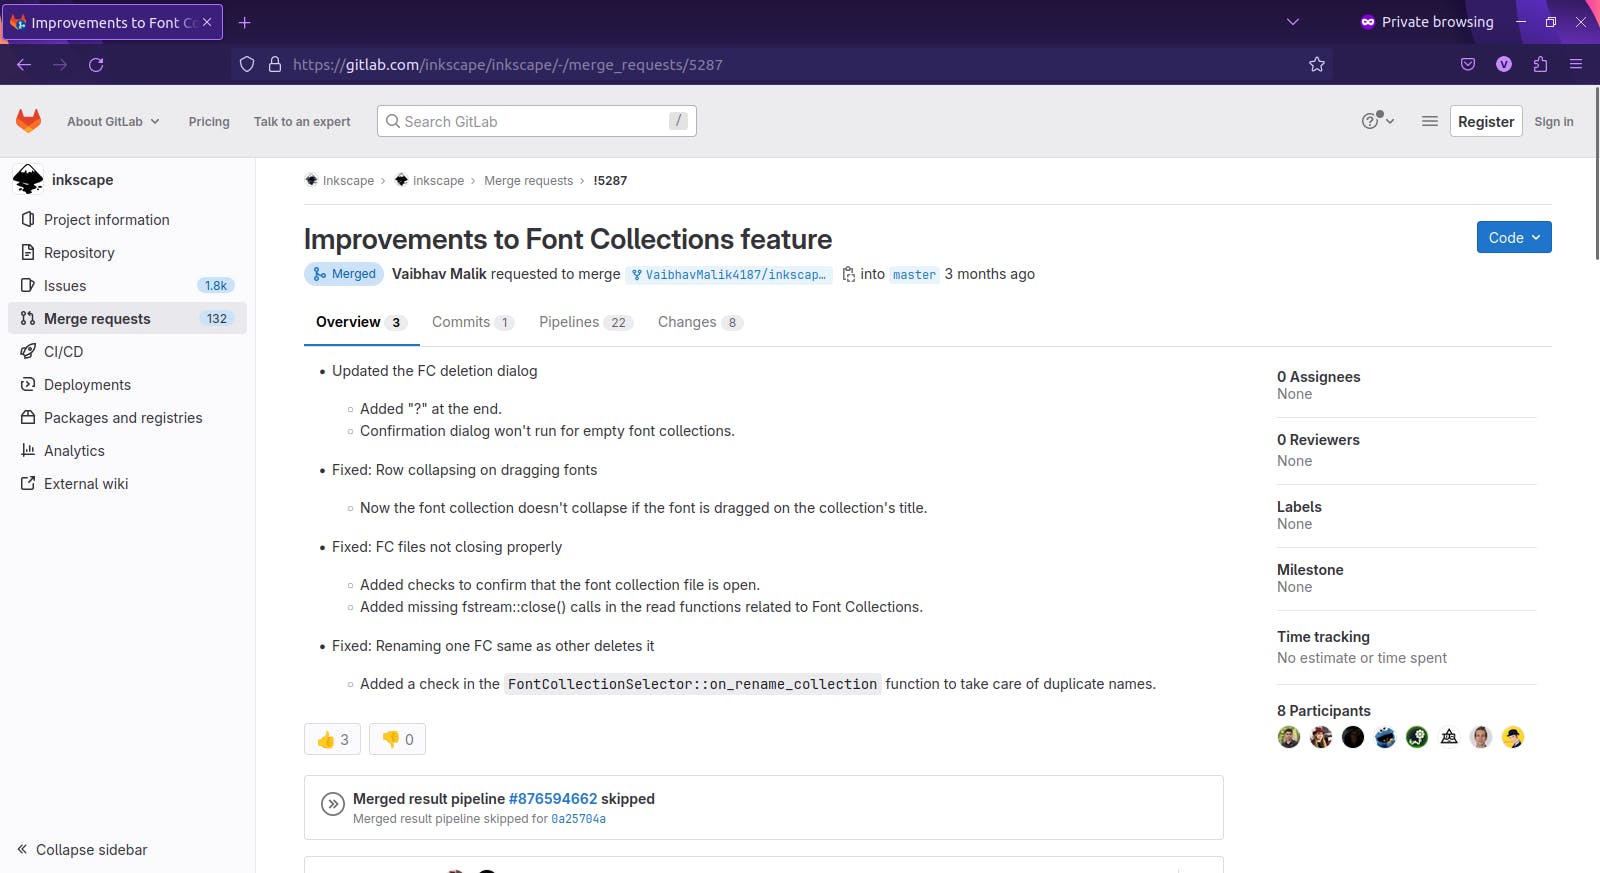
Inkscape uses GitLab as the platform for hosting its source code. Additionally, GitLab serves as the hub where issues about Inkscape can be located. For beginners, it's recommended to initiate their journey by searching for issues categorized as easy to resolve.
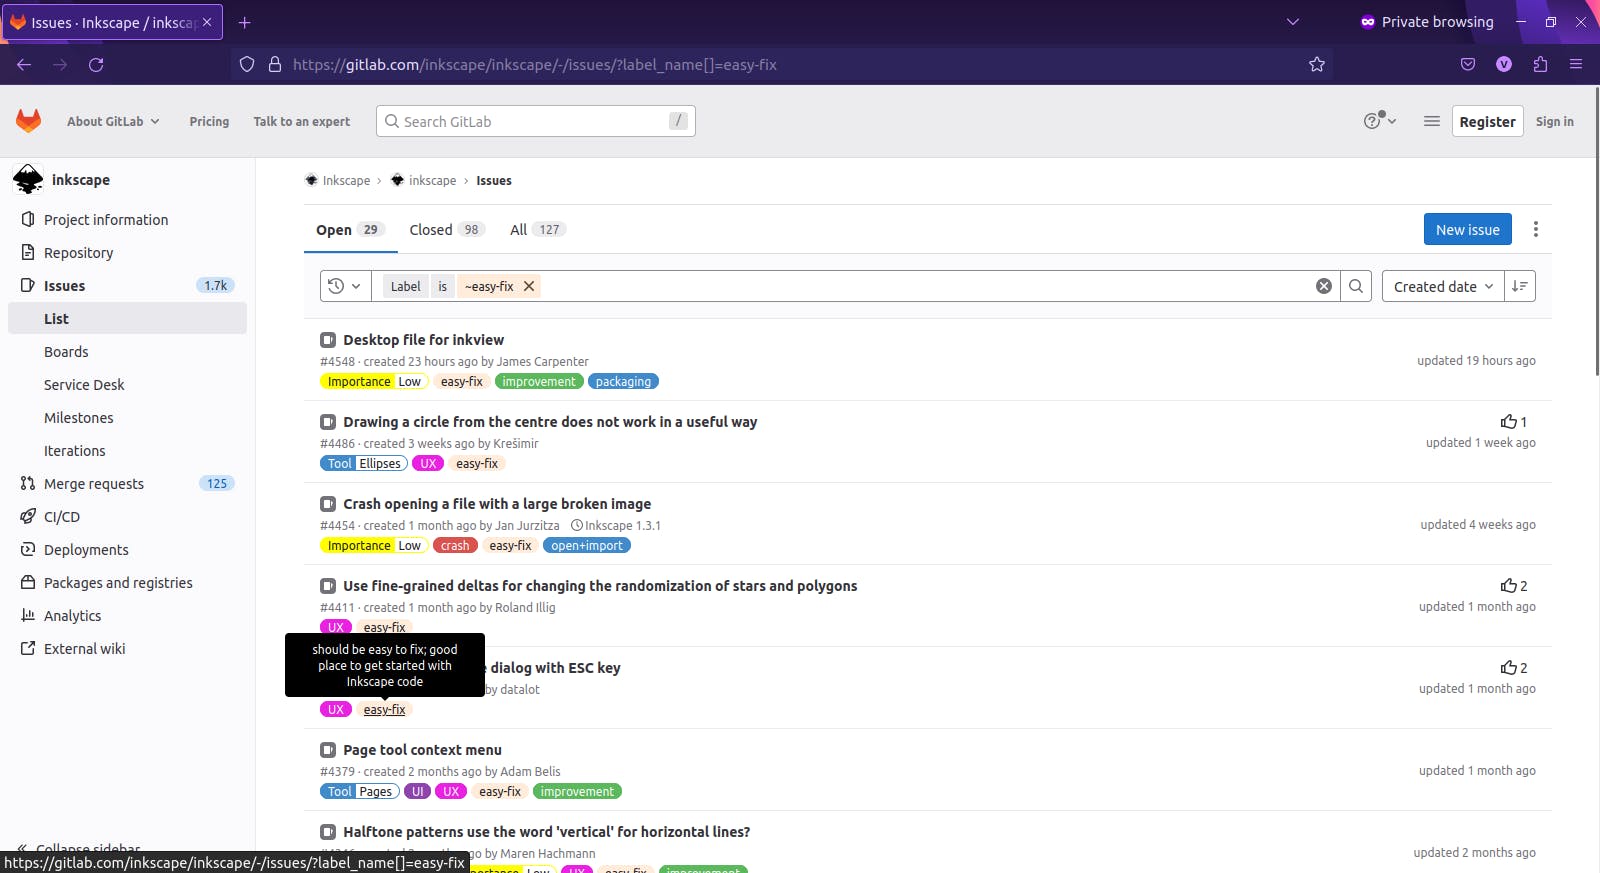
Upon discovering an open issue that resonates with your interests, it's advisable to leave a comment expressing your intent to work on that particular issue.
6. Guidelines for contributions and the workflow for submitting merge requests
Certain projects possess specific contribution guidelines in place. The nature of these contribution guidelines does exhibit variability across distinct projects. For instance, within projects like Meshery, it is incumbent upon individuals to affix their sign-off to their commits. Conversely, at Inkscape, no such regulations appear to be in effect. Contrarily, in the case of LibreOffice, contributors are asked to share a license statement on the mailing list.
Ensure that you adhere to the contribution guidelines and the community's code of conduct throughout your journey.
General workflow for submitting merge requests
I presume you possess a fundamental grasp of version control systems, such as Git. Should this not be the case, I suggest visiting Kunal Kushwaha's channel. He has posted an exceptional tutorial on Git.
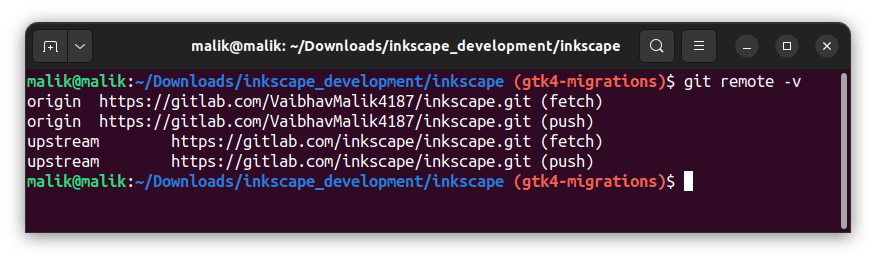
- Upon cloning a repository, my foremost action entails the configuration of the upstream URL by running
git remote add upstream <upstream-url>. To view the remote URLs being used in your local project, rungit remote -v
Make and commit the changes.
Use separate branches for separate issues. Kindly refrain from pushing any changes directly to the master/main branch.
I suggest adhering to the seven rules outlined at https://cbea.ms/git-commit/#seven-rules to compose well-crafted Git commit messages.
Push the code, create a merge request and request a code review. Be polite and patient when asking for code reviews. Follow up on the code review and make necessary updates until all issues have been addressed.
7. Communication is the key
Feel free to seek assistance whenever necessary. However, before taking that step, ensure that you have genuinely invested sincere efforts in attempting to resolve the issue that has caused you to become stuck.
It is of utmost importance to always demonstrate respect towards fellow community members.
When initiating discussions, it's advisable to utilize public channels exclusively.
Conclusion
By accomplishing these seven steps, we have effectively concluded your onboarding process into the realm of open-source. The present moment signifies the initiation of your exploration into the domains that captivate your interest and your active involvement in community dialogues. Broaden your scope of understanding, acquaint yourself with novel and impressive technologies, and strive to produce significant contributions to projects with tangible real-world impact. Embrace fearlessness and maintain a constant commitment to upskilling yourself. And do not hesitate to seek assistance and guidance. I'm looking forward to our next interaction in the upcoming blog.